
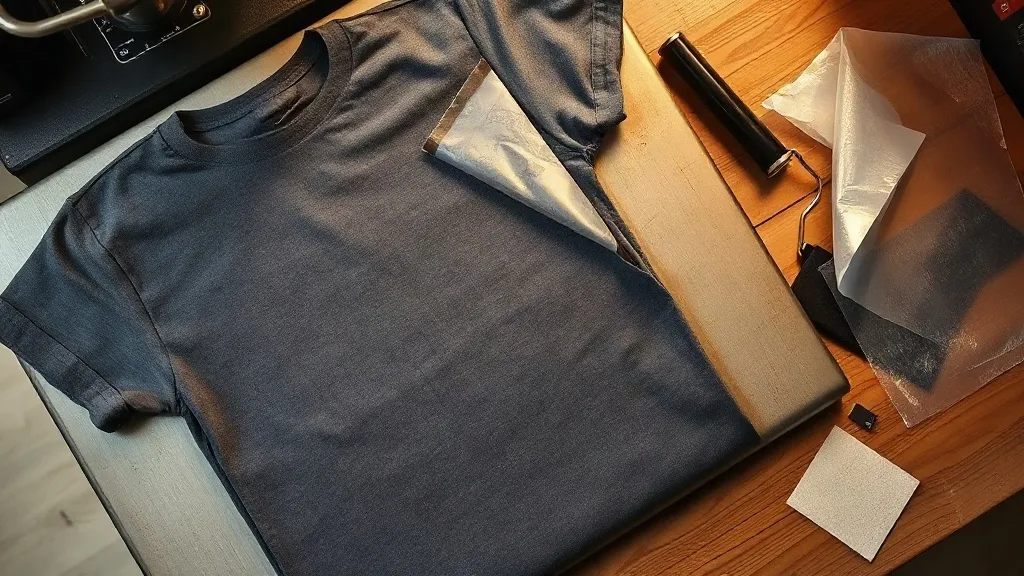
A misprint at the end of a rush order is one of the most expensive moments in a print shop. The garment is already paid for, the customer is waiting, and the mistake sits there in full color. Most shops treat that shirt as a loss. A smaller group treats it as inventory. The difference usually comes down to whether the shop has a practical repair workflow, and dtf transfers have quietly become one of the most useful tools for that job.
This guide is not about printing fresh orders. It is about the work that happens after something goes wrong: the shirt with a crooked logo, the hoodie a customer returned, the sample with a faded patch, the team order where two numbers were swapped. Repair and rework is where dtf shines because the film lets you apply a new design over an existing one without stripping the garment down to bare fabric.
Why DTF Fits Repair Work Better Than Most Methods
Most decorating methods assume a blank canvas. Screen printing needs mesh and setup time, and a single repair usually cannot justify either. Vinyl needs clean, flat placement and can leave a hard edge when layered over old ink. Embroidery over an existing print is rarely an option at all.
DTF works differently. The design is printed on a film, powdered with adhesive, and cured before it ever touches a garment. When you press it, the adhesive bonds to whatever surface sits underneath, including cured plastisol, old vinyl, or a previous DTF print. That single characteristic is what makes repair possible.
There are limits worth knowing. A repair print sits slightly on top of the original, so the stack gets thicker with each layer. Two layers are usually fine. Three start to feel stiff and look raised under raking light. Plan repairs so the new design covers the old one cleanly rather than stacking in the same small area.
The Four Repairs That Pay for Themselves
1. Covering a Misplaced or Crooked Print
The most common rescue is a design that landed off-center or at a slight angle. You cannot move cured ink, but you can cover it. A slightly larger DTF print placed correctly will hide the original underneath, provided the new artwork is opaque enough and the old print does not have a raised texture that shows through.
Test this on a scrap garment first. White and light inks cover well. Thin, translucent designs will let the old print ghost through, so choose solid coverage or add a white underbase layer to the file before printing.
2. Saving Customer Returns
Returns are a fact of retail and team orders. A shirt that comes back because of a sizing mix-up or a small flaw is still a wearable garment. If the flaw is a print issue, a repair print can often fix it. If the flaw is fabric damage, a small patch or logo placed over the spot turns a return into sellable stock.
Keep a small library of generic repair designs on hand: simple logos, small wordmarks, geometric marks, and minimal graphics. When a return lands, you pick the closest match instead of designing from scratch.
3. Refreshing Faded or Cracked Prints
Older garments in a shop's sample rack or a client's uniform program eventually fade. Instead of replacing them, a fresh DTF print pressed over the faded area can extend the garment's life. This works best when the new design is larger than the old one and uses solid colors. Faded prints with fine detail are harder to cover cleanly, so check the result under good lighting before returning the garment to the client.
4. Fixing Wrong Names and Numbers
Team orders are notorious for this. A jersey gets the wrong number, or a name is spelled incorrectly. A DTF patch sized to cover the mistake, pressed over the old lettering, solves the problem in minutes. For jerseys and athletic wear, choose a film that matches the garment's stretch so the repair moves with the fabric instead of cracking at the edges.
Setting Up a Repair Station
A dedicated repair station keeps rework from disrupting the main production line. It does not need much space, but it does need the right tools in reach.
- A heat press with accurate temperature and pressure control, kept separate from the main press if possible
- A teflon sheet or protective cover sheet for pressing over existing prints
- A small assortment of repair films in white, black, and common brand colors
- Sharp scissors or a trimmer for shaping patches to fit
- A lint roller and prep spray, because the surface of a returned garment is rarely clean
- A daylight lamp or color-corrected light for checking coverage
Label the station clearly so staff know where rework goes. A simple bin for garments awaiting repair and another for completed repairs prevents returns from getting lost in the shuffle.
Pressing Over an Existing Print: What Actually Changes
Pressing onto a cured print is not the same as pressing onto bare fabric. The old ink or vinyl acts as a barrier, and heat behaves differently on it. A few adjustments make the difference between a clean repair and a mess.
Lower the temperature slightly
Most DTF films press well around 150 to 160 degrees Celsius, but when the surface underneath is already cured ink, dropping the temperature by five to ten degrees and extending the press time by a few seconds usually gives a better bond without scorching the original print.
Use consistent, even pressure
Raised prints create high and low spots. Medium pressure with a firm cover sheet helps the adhesive flow into those gaps. If the repair print sits over a thick vinyl edge, a thin silicone pad under the garment can help level the surface.
Peel cold for stacked prints
Cold peel gives the adhesive time to set and reduces the chance of pulling the new print off with the film. Warm peel is faster but riskier when the surface underneath is uneven.
Re-press after peeling
A second short press with a cover sheet seals the edges. This step is easy to skip and easy to regret, because edges are where repairs fail first.
What to Charge for Repair Work
Repair pricing is a judgment call. Charging full retail for a fix that takes five minutes feels wrong to the customer, but giving it away trains clients to expect free rework. A practical middle ground is a flat repair fee that covers materials and labor, priced below a new garment but high enough to be worth the time.
For repeat clients, bundling a small number of free repairs into a larger order builds loyalty without much cost. For one-off walk-ins, a clear published fee prevents awkward conversations. Track how often each client needs repairs. A client with frequent misprints may have a file or sizing issue worth fixing at the source.
When Repair Is the Wrong Choice
Not every garment is worth saving. Repair makes sense when the garment is in good condition, the fix is quick, and the result will look intentional. It stops making sense when the fabric is damaged, when the repair would stack three layers deep, or when the customer expects a brand new item.
Be honest with clients about what a repair will look like. Show them a photo of a similar repair before committing. A repaired garment is not a new garment, and setting that expectation up front avoids a second return.
Preventing the Repairs You Keep Repeating
The best repair workflow is the one you rarely need. If the same mistakes keep landing on the repair table, the fix belongs upstream. Check placement templates before every run. Verify names and numbers against the client's written list, not a verbal confirmation. Keep a sample press of each new film batch so you catch adhesion problems before they hit a full order.
Shops that track their repair causes usually find that two or three recurring issues account for most of the rework. Fixing those saves more than any repair technique.
Frequently Asked Questions
Can you press a DTF transfer over an old screen print?
Yes, in most cases. The adhesive bonds to cured plastisol, provided the surface is clean and the pressure is even. Lower the temperature slightly and use a cover sheet to protect the original print. Test on a scrap garment first if the old print has a heavy texture.
Will a repair print feel stiff on the garment?
A single repair layer feels similar to a normal DTF print. The stiffness comes from stacking layers, so keep repairs to one or two layers and avoid pressing a new print directly over a thick vinyl edge.
How long does a repaired print last in the wash?
A properly pressed repair holds up much like a fresh print, usually through dozens of wash cycles when the garment is washed inside out and not tumble dried on high heat. Edges are the first place to fail, which is why the post-peel re-press matters.
Can I repair a garment with a hole or tear using DTF?
Only as a cosmetic cover. A DTF print can hide a small hole visually, but it does not reinforce the fabric. For anything the customer will wear hard, a proper patch or fabric repair is the better choice.
Is it cheaper to repair or replace a misprinted shirt?
Repair almost always costs less in materials, and the difference grows with premium blanks. The trade-off is labor time. If the repair takes longer than reprinting, replace the garment and use the misprint as shop stock or a sample.