
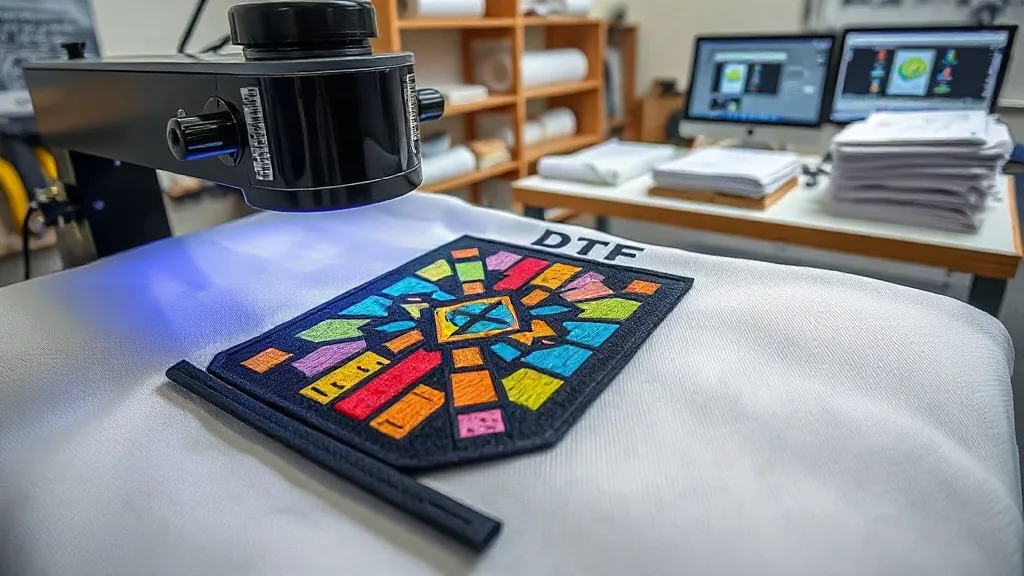
Custom patches have long been a staple in branding, team gear, and fashion. But traditional embroidered patches come with limitations: complex designs, gradients, and fine details are hard to replicate, and production can be slow and costly. Enter DTF transfers, a game-changer for patch makers. In this guide, I'll walk you through how to use dtf transfers to create high-quality custom patches that are vibrant, durable, and easy to produce. Whether you're a seasoned print shop owner or just starting out, these practical insights will help you deliver patches that impress.
Why DTF Transfers for Custom Patches?
DTF (Direct to Film) printing has revolutionized the apparel decoration industry, and its benefits extend perfectly to patch making. Unlike embroidery, DTF allows for unlimited colors, intricate details, and photographic-quality images. The process involves printing your design onto a special film, applying a powder adhesive, and then heat-pressing it onto a substrate. For patches, this means you can achieve stunning visuals on materials like twill, canvas, or even leather. Plus, DTF patches are flexible, wash-resistant, and can be sewn or ironed on, giving you versatile attachment options.
Designing DTF Patches That Stand Out
Great patches start with great design. When preparing artwork for DTF, keep these tips in mind:
- Resolution matters: Use high-resolution images (300 DPI or higher) to ensure crisp edges and smooth gradients.
- Color mode: Design in RGB, as DTF printers use CMYK plus white ink. Convert to CMYK if your printer requires it, but test proofs to avoid color shifts.
- White underbase: DTF automatically prints a white layer behind colors, so your design will pop on dark fabrics. No need to worry about background colors.
- Bleed and borders: Add a small bleed (1-2mm) around the design if you plan to cut patches manually. For die-cut patches, include a cut line in your file.
Remember that fine lines and small text may not hold up well on textured fabrics. For patches, a minimum line thickness of 1pt is recommended.
Choosing the Right Patch Material
The substrate you press onto greatly affects the final look and feel. Common options include:
- Twill: The classic patch material, durable and takes transfers well.
- Canvas: Offers a rugged, textured look, great for outdoor or vintage styles.
- Faux leather: Adds a premium touch, but requires lower pressing temperatures to avoid melting.
- Felt: Soft and pliable, ideal for fashion patches, but may need a backing for structure.
Always test a small sample before committing to a large batch. Different materials may require adjustments in pressure, temperature, or pressing time.
Pressing DTF Transfers onto Patch Material
Proper pressing is crucial for adhesion and durability. Here's a step-by-step guide:
- Preheat the substrate: Press the patch material for 5-10 seconds to remove moisture and wrinkles.
- Position the transfer: Place the DTF transfer face down on the material, ensuring it's centered.
- Press: Use a heat press at 300-325°F (150-160°C) for 10-15 seconds with medium pressure.
- Peel: Wait a few seconds for the transfer to cool slightly, then peel the film in a smooth, continuous motion. For a matte finish, peel while hot; for glossy, peel cold.
- Post-press: Cover with parchment paper or a Teflon sheet and press again for 5 seconds to enhance durability.
Note: If you're using a home iron, results may vary. A heat press is strongly recommended for professional quality.
Finishing Touches: Cutting, Sewing, and Attachment
After pressing, you'll need to cut the patch to shape. Use sharp scissors or a die-cut machine for clean edges. For a professional look, consider adding a merrowed border or stitching around the edge. DTF patches can be attached by sewing or using a heat-activated adhesive backing. If you opt for iron-on, apply a patch adhesive sheet to the back and press according to the manufacturer's instructions.
Durability and Care
DTF transfers are known for their wash resistance. To ensure longevity, instruct customers to wash garments inside out in cold water and avoid harsh detergents. Tumble drying on low heat is acceptable, but air drying is best. With proper care, DTF patches can withstand dozens of wash cycles without fading or cracking.
Sourcing DTF Transfers for Patches
If you're not ready to invest in a DTF printer, you can order custom transfers from a supplier. When searching for dtf transfers near me, look for providers that offer gang sheet options, which allow you to combine multiple patch designs on one sheet to save costs. Ensure they use high-quality films and powders for optimal results.
Frequently Asked Questions
Can DTF transfers be used on leather patches?
Yes, but leather requires lower pressing temperatures (around 275°F) and light pressure to avoid scorching. Always test on a scrap piece first.
How do I prevent the transfer from peeling after washing?
Proper pressing is key. Ensure sufficient pressure and time, and always post-press with a protective sheet. Also, wait 24 hours before washing.
What's the minimum order quantity for custom DTF patches?
It depends on the supplier. Many offer low minimums, even single patches, especially when ordering gang sheets. Check with your provider.
Can I layer DTF transfers to create multi-color patches?
Absolutely. DTF allows for layering, but be mindful of thickness. Press each layer separately and use a lower temperature for subsequent layers to avoid remelting.
Are DTF patches as durable as embroidered patches?
While embroidered patches are more abrasion-resistant, DTF patches are highly durable when properly applied and cared for. They excel in color vibrancy and detail.