
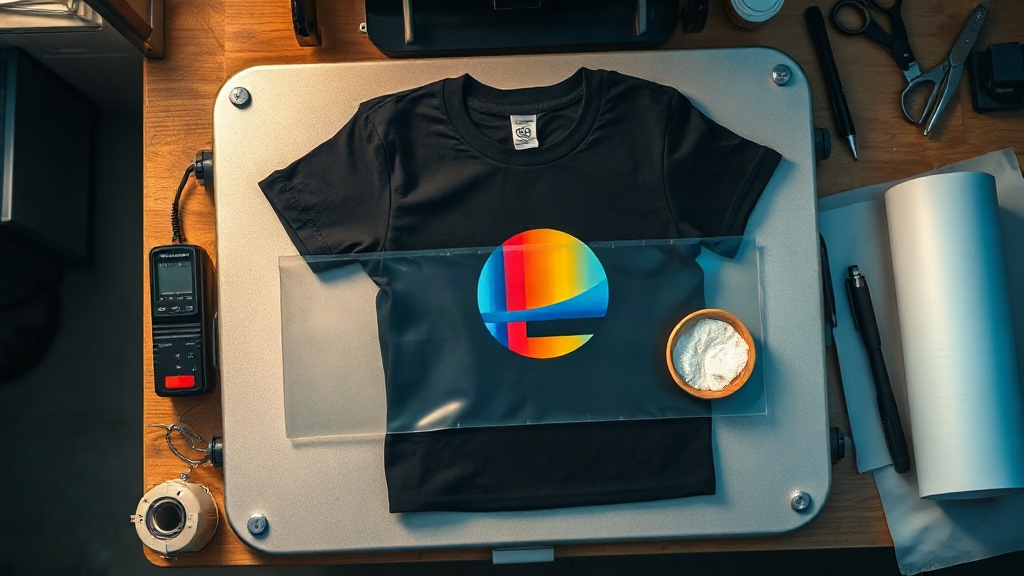
The first time I peeled a DTF transfers sheet off a freshly pressed hoodie, I expected the print to crack within a week. That was four years and roughly six hundred shirts ago, and the same hoodie still gets worn to the shop most mornings. Direct-to-film has quietly become the most forgiving way for a small operation to put full-color artwork on fabric without owning a $30,000 printer or paying a screen setup fee for every new design. But the gap between a transfer that survives fifty washes and one that peels on the second is almost entirely about technique, not luck. This guide covers what I have learned pressing them daily, including the parts most how-to articles skip.
What a DTF Transfer Actually Is
A DTF transfer starts as a digital print made in reverse onto a PET film. A printer lays down water-based pigment ink, then the machine dusts a thermoplastic polyurethane adhesive powder over the wet ink. The sheet goes through a curing stage that melts the powder into the ink layer, and what you end up holding is a flexible, rubbery film of color sitting on a carrier sheet. You place it powder-side down on the garment, press it, and the adhesive bonds the ink to the fabric while the carrier peels away.
The important structural detail is that the adhesive is only under the ink, not around it. That is why a proper DTF print has a slightly raised, soft-hand feel rather than the plastic window you get from a cheap vinyl cut. It also means the bond depends on heat, pressure, and time all being right at once, because there is no separate glue layer to compensate for a lazy press.
Film types you will run into
Single-sided film is the standard: print on the matte side, powder it, press it. Double-sided film lets you stack two printed sheets back to back for a mirrored design, which is handy for sleeve prints or a two-color look that would otherwise need multiple passes. There is also a thinner "soft touch" film that reduces the hand feel on lightweight tri-blends, though it is less forgiving if your press runs hot.
Why DTF Fits Small Shops So Well
Compare the workflow to screen printing. A screen setup for a five-color job takes an hour before the first good print, and that cost only makes sense at volume. DTF needs no screens, no color separations, and no minimum. A single shirt with a photograph on it costs the same per unit as fifty shirts. For anyone doing one-offs, team orders with names and numbers, or market stalls where the design changes weekly, that removes an enormous amount of friction.
It also handles fabric types that give other methods trouble. Cotton, cotton-poly blends, canvas, and even some nylon jackets take DTF well when pressed correctly. Compare that to vinyl, which struggles on stretchy or heavily textured surfaces, or to sublimation, which requires polyester and light colors.
- No minimum order: print one or one hundred, the per-unit cost barely moves.
- Full color: gradients, photos, and fine detail print without extra cost.
- Wide fabric range: works on most cotton and poly-cotton garments.
- Storage: cured transfers keep for months in a dry, dark drawer.
The Pressing Steps That Decide Durability
Most peeling complaints trace back to one of four variables. Get all four right and the print will outlast the shirt.
1. Pre-press the garment
Cotton holds moisture, and moisture turns to steam under the press, which pushes the adhesive away from the fibers. Five to ten seconds of pre-pressing at your working temperature drives that moisture out and flattens the weave so the transfer makes full contact. Skip this and you are bonding to a moving target.
2. Set the right temperature and pressure
Most films want somewhere between 300 and 320 degrees Fahrenheit with medium to firm pressure. Too cool and the adhesive never fully flows. Too hot and the ink layer can scorch or the carrier can wrinkle into the print. Pressure matters as much as heat: a press that is only lightly clamped leaves the edges of the design under-bonded, and edges are exactly where peeling starts.
3. Peel at the right moment
Check your film's instructions because hot peel and cold peel are not interchangeable. Hot peel films come off immediately after the press opens, while the adhesive is still tacky. Cold peel films need to cool completely, often a full minute, before you pull the carrier. Peel a cold-peel film too early and you will drag ink off the shirt.
4. Do a second press
After peeling, cover the print with parchment or a Teflon sheet and press again for five to ten seconds. This step, sometimes called a post-press, re-melts the adhesive into the fabric and smooths the surface. It is the single easiest upgrade to wash durability and takes almost no extra time.
Washing and Wear: What to Tell Your Customers
A correctly pressed DTF print handles normal washing well. The failure modes are almost always mechanical rather than chemical. Heat from a dryer softens the adhesive, and tumbling then flexes the print until it lifts. Fabric softener leaves a residue that interferes with the bond over time. Ironing directly on the print is the fastest way to destroy it.
Hand this advice to anyone buying a printed garment:
- Turn the garment inside out before washing.
- Use cold or lukewarm water on a normal cycle.
- Skip fabric softener and dryer sheets.
- Tumble low or hang dry.
- Never iron directly on the design; press from the back if needed.
In my own wash testing, shirts treated this way have gone past sixty cycles with only slight dulling of the print. Shirts washed hot and dried on high showed edge lifting somewhere between wash ten and fifteen.
Cost Per Shirt: The Honest Math
People often assume DTF is expensive because the film and powder add up. The real number depends on design size. A full front print on an adult shirt uses far more film and ink than a left-chest logo, so quoting a single price per transfer is misleading. What matters is comparing total cost per finished shirt against the alternative.
For a small run of ten shirts with a multi-color design, DTF usually wins comfortably over screen printing because there is no setup cost to spread across the order. For a run of five hundred single-color shirts, screen printing wins on unit price every time. The crossover point is roughly where setup fees stop mattering, which for most shops lands in the low hundreds of units.
There is also a hidden saving: mistakes. If you misplace a screen print, you have ruined a garment. If you misplace a transfer, you peel it off while warm, press a new one, and lose a few cents of film.
Where DTF Falls Short
It is not a universal answer, and pretending otherwise leads to unhappy customers. Very stretchy fabrics like spandex-heavy activewear can crack because the ink film does not stretch as far as the garment. Mesh and heavily textured knits can leave gaps where the adhesive cannot reach the surface. And on dark garments, DTF needs a white ink base under the color, which adds thickness and a slightly firmer hand feel compared to printing on white.
If you are decorating performance wear or heavily textured jerseys, test a sample before committing to a full order. A single test shirt costs almost nothing and saves a lot of argument later.
Frequently Asked Questions
How long do DTF transfers last on a shirt?
With correct pressing and cold washing, most prints last as long as the garment itself. Expect noticeable wear somewhere past fifty washes. Hot drying and fabric softener shorten that considerably, often cutting lifespan in half.
Can I press DTF transfers with a home iron?
You can, but results are inconsistent. A home iron cannot deliver even pressure across a large design, so edges tend to lift. If you are only doing occasional small prints, an iron can work with firm, slow passes and a post-press, but a heat press is the better investment for anything regular.
Do DTF transfers work on 100% polyester?
Yes, with a lower temperature. Polyester can scorch or glaze at cotton settings, so drop to roughly 280 to 300 degrees Fahrenheit and test on a hidden area first. The bond is generally strong, though very stretchy polyester blends may still crack over time.
How should I store unused transfers?
Keep them flat in a cool, dark, dry place. Heat and humidity can cause the powder to clump or the film to curl, which makes pressing uneven. Stored properly, cured transfers remain usable for several months.
Why did my transfer peel after the first wash?
Nine times out of ten it is one of three things: no pre-press, insufficient pressure, or peeling a cold-peel film too early. Adding a post-press after peeling solves most remaining cases. If the peel is clean and the adhesive came away with the film, the bond never formed in the first place.
Getting Started Without Wasting Money
If you are new to this, do not buy a printer first. Order a small batch of transfers from a print service, use a decent heat press, and run your own wash tests on the garments you plan to sell. That tells you more about durability than any spec sheet. Once you know your press settings and your fabric behaves, scaling up is straightforward, whether that means printing in-house or keeping a supplier on standby for volume orders.
The appeal of DTF transfers is not that they are magic. It is that they remove the setup cost and color limits that used to keep small decorators locked into one-color jobs. Learn the four pressing variables, respect the fabric limits, and you have a decoration method that handles almost anything a customer walks in with.